How to Organize a NET Fundraiser Event
Fundraisers are a great way to do outreach while making money for your Neighborhood Emergency Team’s (NET’s) supply cache. Since they’re open to the public, it’s a great opportunity to share some enthusiasm for emergency prep, even if people aren’t going to go all-in with NET training.
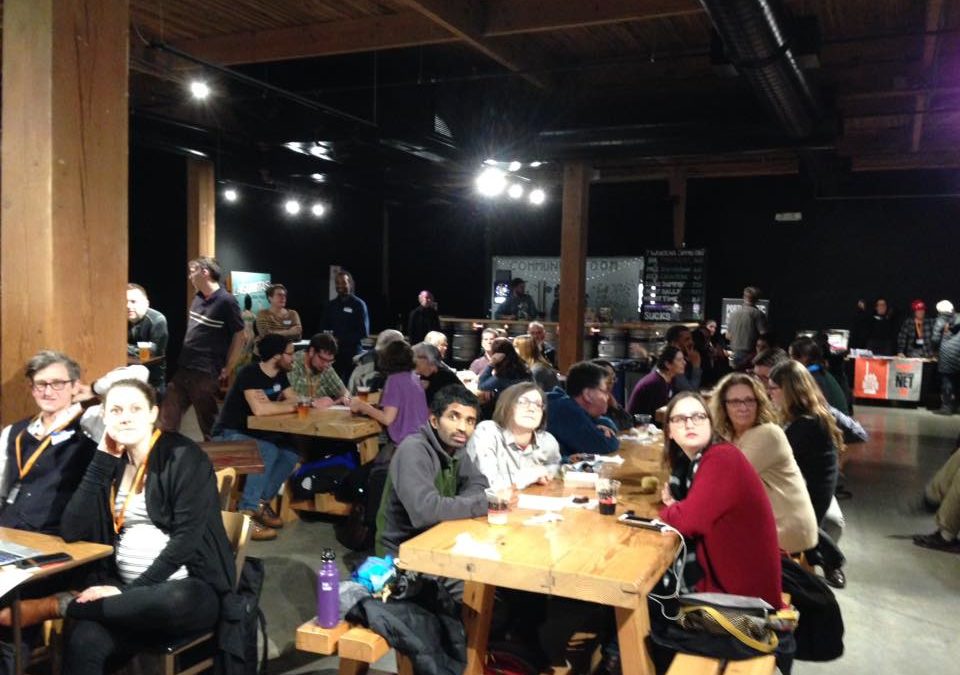
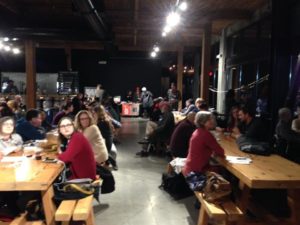
Recently, six NE Portland NETs had a great trivia fundraiser event at Lagunitas Community Room, where we had emergency prep trivia, food from La Sirenita, and lots of great drinks. We made $670, which will be split amongst the six NE NETs that participated. After the event, several people asked, “How did you do this?” and wanted to put on a similar fundraiser for their own NETs.
I also recently volunteered at another NE NET fundraiser at the Oregon Public House, which screened OPB’s Unprepared documentary and had a raffle. Based on these two experiences, I’ll summarize the process, share my thoughts, and offer some tips. Feel free to comment with your own experiences, and ask questions. If you’d like to get a copy of my trivia PowerPoint, email me at pdxboiseprepares@gmail.com.
Find a Planning Partner
It is extremely difficult to organize a successful event entirely by yourself, and why would you want to?
- Find another NET member to partner with, and divvy up the tasks.
- Find a Neighborhood Association or Coalition to take on administrative burdens like filling out event paperwork and paying fees.
 Questions to Consider When Planning Your Event
- Which NET team(s) will your event benefit? The more teams you get involved, the more volunteers you’ll have. The trade off is that the money will be more spread out, so each team will get less. Luckily, what I’ve seen is that even if the money is only going to certain NETs, you’ll still get volunteers from outside that area that just want to help out.
- What entertainment and “draw” do you want to have? It’s easy to show a movie, but that can take up a lot of time and leave less time for education/outreach, networking, or other fun things. Also, everyone would have to arrive on time to see a movie. Don’t try to do too many things; it’s hard to manage and confusing for the guests. Try to focus on one thing, and do it well: trivia, a “Hecklevision” movie, a raffle, or a guest speaker.
Pick a Venue
Here are three non-profit event spaces that will donate a portion of sales or in-kind resources. Of course, you can always hold your event at any restaurant, bar, or other space that allows it. Note that if you bring your own food, someone in your group has to have an Oregon Food Handler Card.
1) Oregon Public House in the Woodlawn neighborhood of NE Portland
Your group could be the featured “Charity of the Day.” Or you could be one six featured nonprofit partners for a period of 5½ months. For each transaction during that time, customers select the nonprofit that they want to receive their proceeds.
- Pros: Great food menu. Good kids play area. Drinks and food can be delivered to the Ballroom upstairs after being ordered at the Pub. OPH is amenable to having you run a raffle during your event, as long as your volunteers do the work and OPH staff don’t have to be part of it. Raffle tickets can either be separately purchased or in exchange for an amount customers have already spent on food/drinks (ask how much they spent, but expecting to see their receipt is not really realistic or polite).
- Cons: Other people will be at the restaurant who may not be aware of your Charity of the Day event, so be cognizant not to impact their normal dining experience while also politely educating them about your fundraiser. The pub itself is not a good venue for doing announcements or running any entertainment; the Ballroom upstairs is better since it has a stage, A/V capabilities, and a large open space. However, to get upstairs to the Village Ballroom, you have to go outside – there’s no inside stairway for the public (only food runners). So if you use the Ballroom, factor in the inconvenience factor. The Ballroom does not have an ADA entrance.
2) Lagunitas Community Room in the Eliot neighborhood of NE Portland
Lagunitas will give you as much free beer as you need, wooden beer tokens, and two beertenders. You must provide the rest, including food. If you bring other donated cider or wine, they’ll serve that too.
- Pros: The space comes with large long wooden tables, a lounge, and a projector, screen and sound mixer with a microphone. They have extra folding tables you can use for info booths and to set out food. A staff person will meet with you beforehand to coach you on how to organize your event successfully, and what paperwork you’ll need to complete.
- Cons: You still have to recruit volunteers to staff the event, ask for donated food, wine and cider, not to mention any prizes you may use for a raffle or a winning trivia team. You have to bring the entertainment, since the space itself is just a shell. The projector screen is small and in the corner, so it’s not well suited to a movie screening. It works just well enough for trivia, if you’re not relying on it too much; people may have to get up and walk up to the screen if there’s a small image they need to see for a clue. Since you’ll likely be serving food, someone will have to get an Oregon Food Handler Card and supervise the food area. There’s no kids play area. And perhaps the biggest Con is the fees – it costs $150 just for the insurance endorsement, $50 for the OLCC, and $30 for the County food permit. Working with the OLCC and the County is the most confusing and time-consuming part of the event planning. For our event, Northeast Coalition of Neighborhoods staff did this work and paid the fees.
3) Ex Novo in the Eliot neighborhood of North Portland
The entire brewery is a non-profit. They feature two local and two international charities at a time, all of which get an equal portion of the proceeds. The brewery has two dining areas; one of which is upstairs. I haven’t used them myself, so I sent them a request for more information; but after a week I haven’t heard back yet.
- Pros: The food is good, although personally I think it can be a bit on the rich side (but you can get a pint of bacon strips for the table, which is pretty amazing).
- Cons: It’s loud in the upstairs space, even if just one person is speaking. If you’re in the back, it’s sometimes hard to hear. A portable amp/speaker and microphone may be needed, if it’s allowed by the venue. The upstairs area’s capacity is only around 30. There’s no kids play area. It’s not a good venue for showing a movie, but it would work well for a guest speaker.
Recruit Volunteers
Based on your event plan, determine how many volunteers you’ll need and what roles they’ll have. Here are some suggestions.
- Greeters (2): Welcome people, take donations, inform people of what to expect from the event, where to find things, etc.
- Info Booth (2): Engage people by asking them questions, demonstrate emergency toilet set up, answer questions, offer brochures, etc.
- Host/Emcee (1-2): Make announcements, thank sponsors, run trivia, etc.
- Food Handlers, Bussers, Event Setup, Event Tear-Down (2-3 of each with a captain)
Use SignUp Genius or a Google Form or Google Spreadsheet to request volunteers. The free version of SignUp Genius won’t give you volunteer’s email addresses, so you’re forced to message them through the website itself. Then separately you’ll have to copy the information into a spreadsheet or Word file so you can print off the summary. It may be easier to just give out a Google Spreadsheet link and make the document public. Just make it easy to use (by formatting it well) and keep an eye on it in case someone accidentally messes it up.
Make sure the sign-up link gets shared widely:
-
- Send it to Jeremy and Ernie so it gets into the NET and BEECN newsletters.
- Send it out in your own NET’s newsletter.
- Post it to the PortlandPrepares Facebook page and any other individual NET Facebook pages.
- Repeat this until you’ve got all the volunteers you need.
Prizes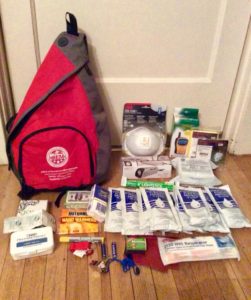
Having prizes is a good way to draw people to your event. They can be raffle prizes, door prizes (e.g.: The first 10 people in the door receive a utility shut-off tool), or trivia prizes. Our event at Lagunitas offered several trivia prizes.
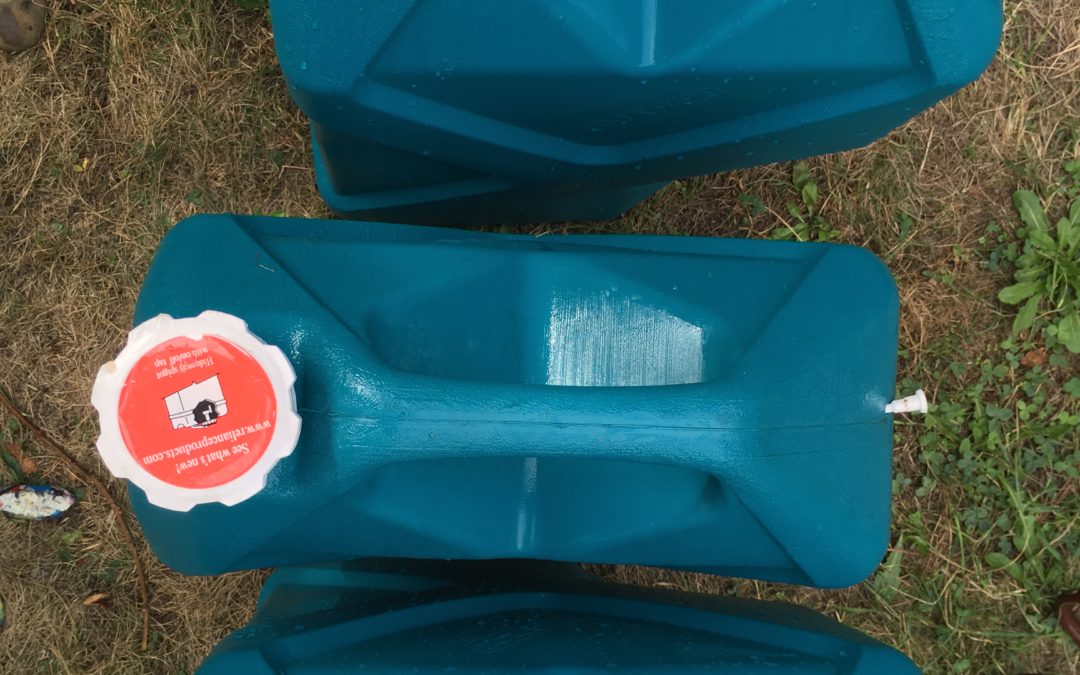
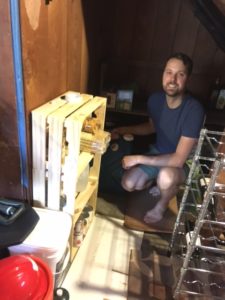
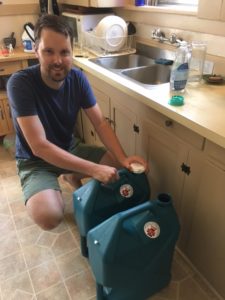
- Backpack Go-Kit – $0 (see photo)
- Emergency Toilet Kit – $45 (see photo)
- The buckets were free from Metro. Contact the Overlook NET if you’re interested in getting some. It’s not hard to find them from other sources.
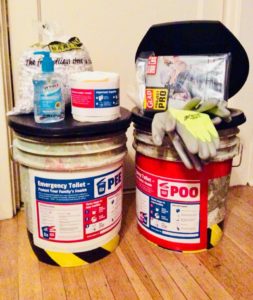
- I got the shredded paper free at work.
- I decorated the bucket with caution tape and disaster sanitation messaging materials from www.EmergencyToilet.org.
- I bought the toilet seat lids online for $10 each because they’re not carried at Lowe’s or Home Depot outside of camping season.
- I bought TP, gloves, hand sanitizer, and some heavy-duty garbage bags.
Donation Requests
This might be the hardest part for some people. But some people love it. Try to find those people. You’re more likely to get donations if the person asking is enthusiastic, personable, and not apologetic. And when soliciting donations, offer recognition on your Facebook event page, at the event, etc. Some ideas for who to ask:
- Lowe’s will likely give you a $25 gift card, which you can use by itself as a prize or buy some items for a kit. Contact a store manager to request a donation.
- Oregon Emergency Management sent me the backpack go-kit (see above). It was mostly stuff I could have gotten myself and assembled, except maybe the water packets. Another option would be to use an old backpack (or one from Goodwill) and fill it with things from the Dollar Store or Costco.
- Ask restaurants in your neighborhood. Make a flyer for your event well in advance so you can bring it with you when asking for donations.
- Ask your network. People may have small things they don’t need or can get for free through work or other connections. Think about how to leverage your network and their assets.
- Ask KBOO to sponsor your event: https://kboo.fm/event-co-sponsorship-request
Communicate Early and Often
With your partners. My planning team used email but also a shared Google Doc to communicate. The doc evolved from informal notes we took during our event space consultation to a final, formal plan. We wrote comments to each other using the @ symbol, so it would send an email to the person to let them know they needed to answer.
With your volunteers. Send them the flyer and ask them to share it with their networks. A couple days before the event, send them details on how the event will go so they know when to show up and what’s expected of them. It’s a good idea to have them wear NET ID and vests so they’re identifiable. Be sure to thank them for volunteering.
With your prospective attendees. Get them excited by posting pictures on your Facebook event page. This may be the difference in turning an “Interested” RSVP into a “Going” RSVP (and actually showing up). Give them details about what to expect for food, drinks, the event schedule, parking, and whatever else they might want to know.
Accepting Cash Donations
Fundraisers are even easier now. In addition to the NET info table materials, you can now check out a PayPal card reader which will accept donations into the Friend of Portland Fire & Rescue account. You’ll just need to tell the PBEM NET Admin, Glenn Devitt, which day your event is, so he can put the money into the right NET accounts.
Grants as a Funding Sources
These fundraising events are great because you can raise enough money for team cache supplies, and you’re free to spend the money how you like. Grants, however, come with strings attached. You have to show that you’re going to spend grant money on something that the grant committee values, which depends on the source. For neighborhood coalitions, it is often diversity and equity work. Buying medical supplies and a pop-up tent is not diversity and equity work. So when you apply for a grant, think of how your NET can benefit but also how you’ll make a winning proposal that the grant committee is going to score highly. This is probably a topic for a different blog post, so I’ll stop there.
Final Words
Bring extra batteries, printouts of your volunteer assignments and schedule, pens, and whatever else you may need in a pinch (duh, we know how to be prepared). Oh, and of course – HAVE FUN!!
Written by Katy Wolf
Team Leader, Boise/Eliot/Humboldt Neighborhood Emergency Team
Exercise & Training Coordinator, Portland Bureau of Emergency Management
pdxboiseprepares@gmail.com

